Setting up a Kotlin Playground in JetBrains Fleet

I use the Kotlin Playground throughout my workday to provide more thoughtful code reviews with compilable suggestions, check my understanding of a Kotlin language feature or API, or test out an idea I may have for an implementation without needing to operate within the confines of a less iterative environment such as a large Android application. The Playground works well enough but lacks a few personal touches I need to prototype quickly and comfortably. As a Vim user, I struggle to write code in an editor that does not provide Vim emulation 😅. I also occasionally need to include dependencies such as a framework library that I may need to prototype. And finally, Playground requires editing in the browser which is mostly fine, but—similar to my Vim preference—provides a slightly awkward experience to developers accustomed to working with a desktop IDE.
An alternative approach to this workflow would be to spin up a simple Kotlin project in either Android Studio or IntelliJ IDEA, but there is something that feels too formal or over-the-top about creating an entire IDEA project just to prototype snippets. In my opinion, Visual Studio Code provides just the right amount of editor and IDE features, but I am not as familiar with working in Kotlin in VS Code. As an Android engineer, I am much more comfortable developing in a JetBrains IDE experience.
Enter Fleet, a next-generation IDE developed by JetBrains written in Kotlin and currently available in public preview. At first glance, Fleet looks and feels similar to VS Code by providing a minimal-but-great editor experience up front with the option to transition to a more traditional IDE experience.
JetBrains documents how to set up a Kotlin project with Fleet here, and the experience unfolds as expected.
- Ensure that Gradle is installed and you have set
JAVA_HOMEon your machine - Download and install Fleet
- Setup a new Kotlin project via
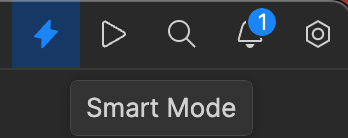
gradle init - Open the project and enable Smart Mode. Enabling Smart Mode unlocks traditional IDE features such as syntax highlighting. I will not describe how this works—because I do not know how—but this article breaks down the Fleet architecture well.
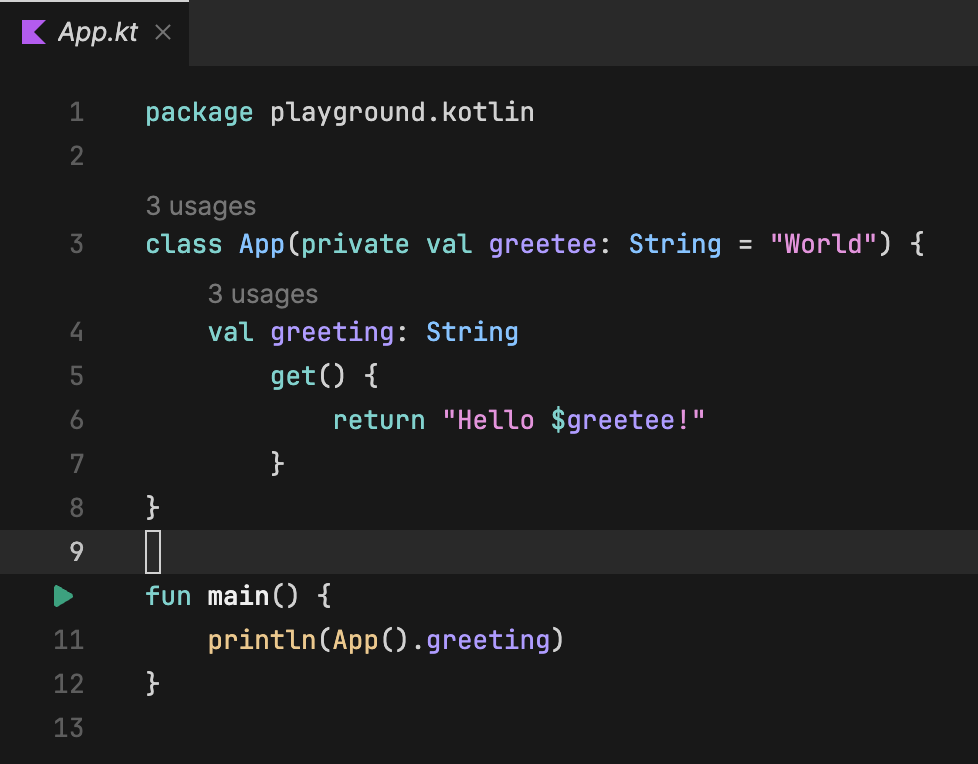
Fleet will take some time to set up the JetBrains code processing backend, but when complete, the editor will show a pleasantly familiar Run button in the editor gutter.
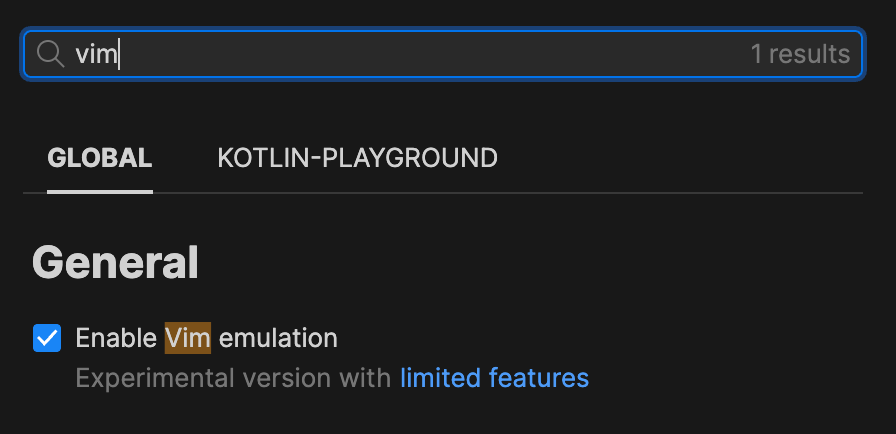
Fleet delivers the lighter-weight developer experience for prototyping that I was looking for to replace my Kotlin Playground usage. And provides the additional benefit of including dependencies and enabling IDE features with little project overhead. By default, enabling Smart Mode just works and I can use standard IDE features like autocomplete and running tests with a minimal learning curve. Fleet also comes with an option to enable Vim emulation so I do not have to fumble around accidentally inserting j's and k's into the source files. 😀
Fleet contains many more developer experience options such as generative AI, and Spaces, but for now, I am simply using it as a Kotlin Playground for providing better code reviews and experimenting with Kotlin APIs for day-to-day development. I uploaded a simple template project here that can be imported into Fleet from a fresh clone. I have been a happy JetBrains IDE user for several years, so I look forward to how Fleet will bring forward a next-generation IDE.